- Snipping Tool For Mac Free
- What Is The Snipping Tool For Macbook
- How Do I Use The Snipping Tool For Mac
- Download The Snipping Tool For Mac
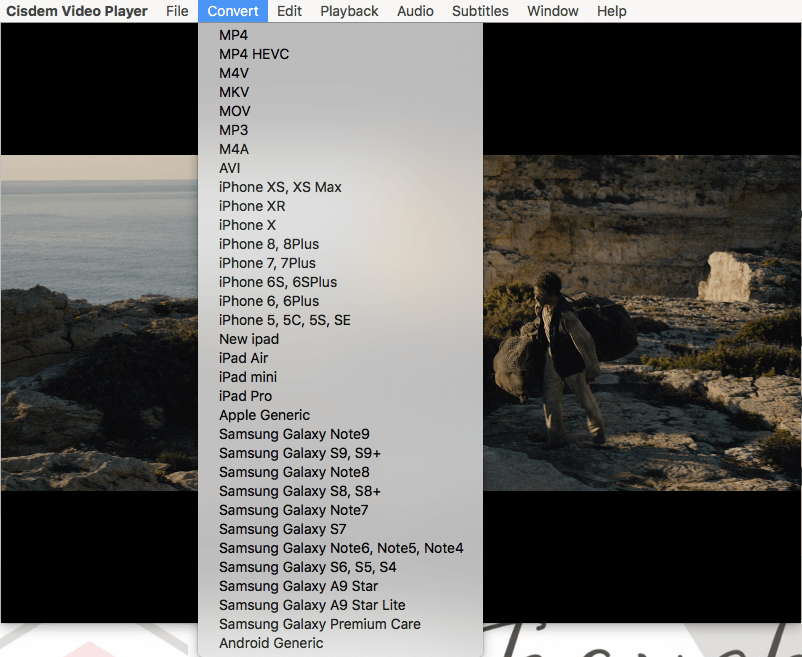
- Best snipping tool for Windows and Mac OS. Our tool can: cut any part of the screenshot, make notes, combine several screenshots, save in cloud storage, and share with anyone via short-link. Snipping Tool App is absolutely free to use. Download the latest version right now! For Windows For Mac OS.
- Briss is a Snipping Tool for Mac which is mainly used for cropping PDF files. It comes with a simple interface and lets you crop the file in very precise and efficient manner. The SourceForge website can be accessed to download this snipping tool.
- Snipping tool for mac free download - Free Snipping Tool, Snipping Tool, COBRA Snipping Tool, and many more programs.
Take a snapshot to copy words or images from all or part of your PC screen. Use Snipping Tool to make changes or notes, then save, and share.
Taking screenshots on Mac. While snipping tools are useful, you have some shortcut keys built into.
Windows 10 has another screenshot app you might also like to try. When you open Snipping Tool, you’ll see an invitation and keyboard shortcut to Snip & Sketch. For more info on this app, see How to take and annotate screenshots on Windows 10.
Capture any of the following types of snips:
Free-form snip | Draw a free-form shape around an object. |
Rectangular snip | Drag the cursor around an object to form a rectangle. |
Window snip | Select a window, such as a dialog box, that you want to capture. |
Full-screen snip | Capture the entire screen. |
When you capture a snip, it's automatically copied to the Snipping Tool window where you make changes, save, and share.
Open Snipping Tool
For Windows 10 | Select the Start button, type snipping tool in the search box on the taskbar, and then select Snipping Tool from the list of results. |
For Windows 8.1 / Windows RT 8.1 | Swipe in from the right edge of the screen, tap Search (or if you're using a mouse, point to the lower-right corner of the screen, move the mouse pointer up, and then select Search), type snipping tool in the search box, and then select Snipping Tool from the list of results. |
For Windows 7 Desktop wallpaper for mac computer. | Select the Start button, then type snipping tool in the search box, and then select Snipping Tool from the list of results. |
Work with your screenshots

With your Snipping Tool open, select one of the following to create and work with your screenshots.
Capture a snip
In Snipping Tool, select Mode. In earlier versions of Windows, select the arrow next to the New button. Next, when you choose the kind of snip you want, you’ll see the whole screen change slightly to gray. Then, choosing from anything currently displayed on the screen, select the area of your screen that you want to capture.
Capture a snip of a menu
- After you open Snipping Tool, open the menu that you want to capture. For Windows 7, press the Esc key before opening the menu.
- Press Ctrl + PrtScn keys. The entire screen changes to gray including the open menu.
- Select Mode, or in earlier versions of Windows, select the arrow next to the New button. Select the kind of snip you want, and then select the area of the screen capture that you want to capture.
Annotate a snip
Snipping Tool For Mac Free
After you capture a snip, you can write or draw on or around it by selecting the Pen or Highlighter buttons. Select Eraser to remove the lines you've drawn.
What Is The Snipping Tool For Macbook
Save a snip
- After you capture a snip, select the Save Snip button.
- In the Save As box, type a file name, location, and type, and then select Save.
Remove the URL
When you capture a snip from a browser window and save it as an HTML file, the URL appears below the snip. To prevent the URL from appearing:
- In the Snipping Tool, select the Options button.
- In theSnipping Tools Options box, clear the Include URL below snips (HTML only) check box, then select OK.
Share a snip
After you capture a snip, select the arrow next to the Send Snip button, and then select an option from the list.
Keyboard shortcuts to use in Snipping Tool
Press these keys | To do this |
|---|---|
Alt + M | Choose a snipping mode. |
Alt + N | Create a new snip in the same mode as the last one. |
Shift + arrow keys | Move the cursor to select from different types of snips. |
Alt + D | Delay capture by 1-5 seconds |
Ctrl + C | Copy the snip to clipboard |
Ctrl + | Save the snip |
Enlarge, rotate, or crop your snip
How Do I Use The Snipping Tool For Mac
With your capture open in Snipping Tool, select Edit > Edit with Paint 3D to use features for sizing, color, text, and many other enhancements.
Print a snip
In the folder where you’ve saved your snip, right click on the snip. Select Print from the options and make choices for how you want to print your image.
Place tool on the taskbar
In the search box on the taskbar, type snipping tool. You’ll see the Snipping Tool app and a list of actions you can take. Select Pin to taskbar.
Delay your screenshot
First, identify the menu or other components you want to capture. In Snipping Tool, select Delay and then select, for example, 5 seconds. Select Mode to start the 5-second countdown. Within 5 seconds, open a menu or otherwise compose your image. At 5 seconds, when you see the screen turn gray, use the mouse to draw around the area you want.
Related info Star wars for mac game download.

Download The Snipping Tool For Mac
For info about other Windows 10 features, seeWhat's new in recent Windows 10 updates.
